
In-tank Fuel Pump Install Tips
- Inspect your tank VERY carefully. If there is ANY dirt in there,
clean it out. If there is any rust in there, you must take care of
that problem. If you need to clean the tank, you should also clean
the fuel lines.
The main cause of early fuel pump death is dirt in
the system. A pump that dies due to dirty fuel can not
be replaced under warranty.
- If you need to use a piece of fuel hose inside your tank,
be sure it is SAE J30R10 spec hose. That hose is high pressure fuel
hose that was designed
to be immersed in fuel. DO NOT use fuel hose that is designed
for inline use only [SAE J30R9]. It will not survive inside the tank.
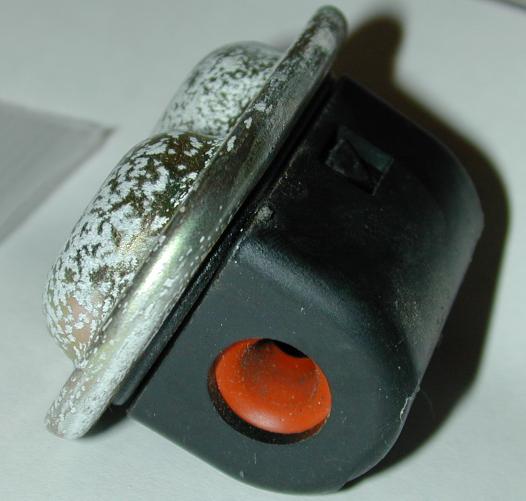
- Be careful when handling your new fuel pump. The outlet
nipple can't be supported because a hose usually has to go over it. If you
aren't very cautious, it will break off. That, unfortunately isn't a
manufacturing defect and is not covered under warranty. I have received
stories of folks that pick up the box quickly and end up slinging the pump
across the room. Now, I put tape on each end of the box in an attempt to
lower the pump casualty count. I have heard from folks that have tried to
epoxy that nipple back on the pump. No one has had success with that
repair method. If you drop your pump and it ends up looking like the one in the
following picture, you are not alone.
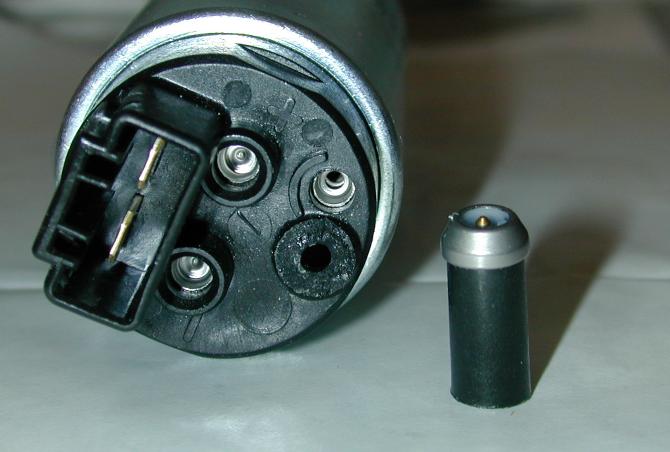
- Be careful when removing the rubber cap from the outlet.
The pump's outlet nipple has a retainer on the end of it that holds the check valve in the
end of the pump. That retainer also serves as a shoulder to prevent the
hose from coming off. If that retainer comes off, that is bad. Most
of the time, that retainer won't stay on if you try to put it back. It
usually comes off and lodges itself in the hose, thus becoming a flow
restrictor. After that, the check valve will probably come out, and your
system won't hold pressure. The best way to avoid all those nightmares is
to cut the rubber cap off the outlet instead of pulling it off. Below is a
photo of a pump with a missing retainer ring. The check valve is that
white piece in the end of that nipple.
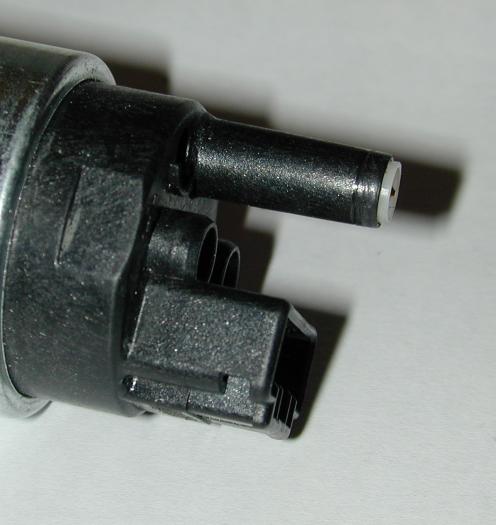
- Many GM vehicles, and a few others, have a small can that
attaches to the outlet of the pump. That is a pulse damper. It is designed
to even out the pressure pulses from the fuel pump. Below is a photo of a
typical GM pulse damper. Both ends look like the end that is shown. The
pump pushes into one end and the supply line tubing pushes into the other
end. Notice that there isn't really a way to put a hose clamp on that
connection. That is a source for a leak under high-pressure
conditions. We suggest that you remove any pulse damper and use a piece of
high pressure fuel line and a couple good clamps.
- Some of the DSM installations have been less than a total success on their first attempt. I have received notes from a couple owners that have experienced a "cutting-out" behavior above 5000 rpm after the install. The problem appears to be the o-ring in the install kit is not fully sealing in the original pump hanger. The union between the pump and the original hanger MUST be VERY snug. If there is any play in that connection, it will leak. If the o-ring in your install kit is not snug, try the o-ring that was with your original pump, or cut off that flared section of the original fuel line and use a short piece of high-pressure fuel hose and clamps.
Please read our Policies
© copyright 1999-2026 Auto Performance Engineering